


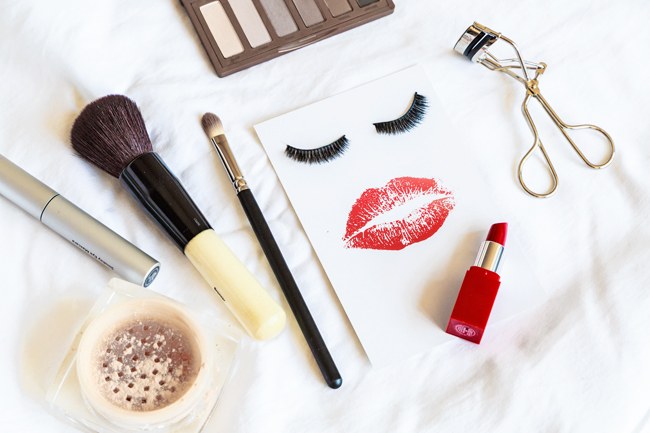
ANN/THE STATESMAN – Much like preparing a specific meal follows certain steps, applying make-up involves its own unique process.
Here’s a comprehensive guide on how to apply make-up effectively. However, it’s crucial to establish a foundational routine that can be adjusted to individual preferences. Brand Manager at a cosmetic shop Mukan Jain shares insights on the correct sequence for applying make up.
STEP 1: PRIMER
If you ask experienced make-up artists for their best advice, most will tell you that the key to great make-up is to prep your skin properly. It helps that there’s a primer out there for every type of skin and concern. So whether you’re dealing with oily skin and want to control shine, or your skin is dry and needs more moisture, there’s a primer designed for it. Primers not only make make-up stick better but also make it last longer. So, if you want your make-up to shine throughout the day, primer is your secret weapon.
STEP 2: BROWS AND EYES
While this isn’t a strict rule, there’s a good reason to handle your eye make-up and eyebrows before you get into your complexion products. It’s all about having a solid base to work from. Why? It gives you a safety net. You can fix fallout or mascara mishaps under your eyes without messing up your concealer or foundation, especially if you’ve gone all out on your eye look.

However, you’re not locked into this order – you can totally switch it up and apply make-up for eyes after your complexion products if that suits your style better. The key is to kick off with whatever is going to be the star of your look. If it’s all about the eyes, dive into that first. If you’re focusing on achieving flawless skin, start there. This way, you’ve got more flexibility to perfect that focal point before bringing in the other elements like lips and cheeks.
It’s all about making your final look come together seamlessly.
STEP 3: FOUNDATION
Exploring the world of foundations can be overwhelming. How do you find the right one for you? If you want a light, breathable finish, go for a tinted moisturiser or something with a dewy touch. If you’re in the middle, a demi-matte works well. And if you need staying power, full-coverage, matte foundations are your go-to for all-day wear.
Remember, the purpose of the foundation is to create an even base for other make-up. To start, match the shade to your skin tone and desired finish. Test three similar shades on your chest to find the closest one – usually, the face is a bit lighter than the rest of your body due to regular washing.
To apply make-up, use a Beauty Blender for a natural look or a good foundation brush for a smoother finish. Whichever tool you choose, blend the foundation before adding concealer.
STEP 4: CONCEALER
First things first, figure out where your face needs a bit more love, then bring in the concealer. Concealers are thicker and meant to tackle stuff like pesky dark circles or stubborn blemishes. To get the best bang for your buck, dab on thin layers and gently tap them onto your skin.
If you’re uncertain about where to apply concealer, the choice largely hinges on your desired out-comes. Opt for lighter shades to brighten the area beneath your eyes, darker patches of skin, or to accentuate the high points of your face. For covering blemishes and acne scars, select a shade that closely matches your skin tone or the shade of your foundation.
STEP 5: BRONZER/BLUSH/HIGHLIGHTER
Now that your base is in place, it’s time to add some depth and dimension to your face.
Here’s the order: bronzer first, then blush, and finally highlighter. Start by using bronzer on your cheekbones and temples to give your face definition and a sun-kissed glow. This lays the foundation for sculpting. Next, swipe blush onto the apples of your cheeks, gently blending it outward for a natural flush.
Just be careful about mixing different product textures, especially when it comes to foundation and blush pairings. Putting powder on top of the cream might make things look slightly blotchy. So, if your foundation is creamy, go for a creamy blush. Finally, add a touch of highlighter to the high points of your cheekbones using a smaller brush for a subtle shimmer.
STEP 6: LIPS
Lip liner comes first, serving as a boundary to prevent colour feathering. For a longer-lasting liner, put it on dry lips before using any lip balm or colour. Once your liner is done, apply some hydrating lip balm and then your chosen lip colour, whether it’s lipstick or lip gloss. If you’re using both, put on the lipstick before the gloss.
STEP 7: TRANSLUCENT POWDER AND SETTING SPRAY
To make sure your make-up stays fresh all day, finish up with some setting powder. This step will set your make-up by forming a barrier to soak up any oils your skin may produce during the day.
Whether you’re using a foundation powder or a translucent powder, be sure to apply it with a large brush and dust the product over your forehead, cheeks, chin, and nose – that’s your T-zone.
If you want an extra layer of protection, you can use a setting spray at this point.

