
The ultimate guide for a spotless home
The Washington Post – Maybe you’ve been putting it off – and who could blame you? Almost everyone hates the thought of an entire Sunday spent disinfecting bathrooms and dusting surfaces.
But the dreaded deep clean is, at some point, unavoidable. So, we set out to make it a little bit easier. We asked professional house cleaners and other cleaning experts to divulge their best advice for cleaning an entire home both quickly and thoroughly. Here is their road map to getting through your next whole-house scrub-down as efficiently as possible.
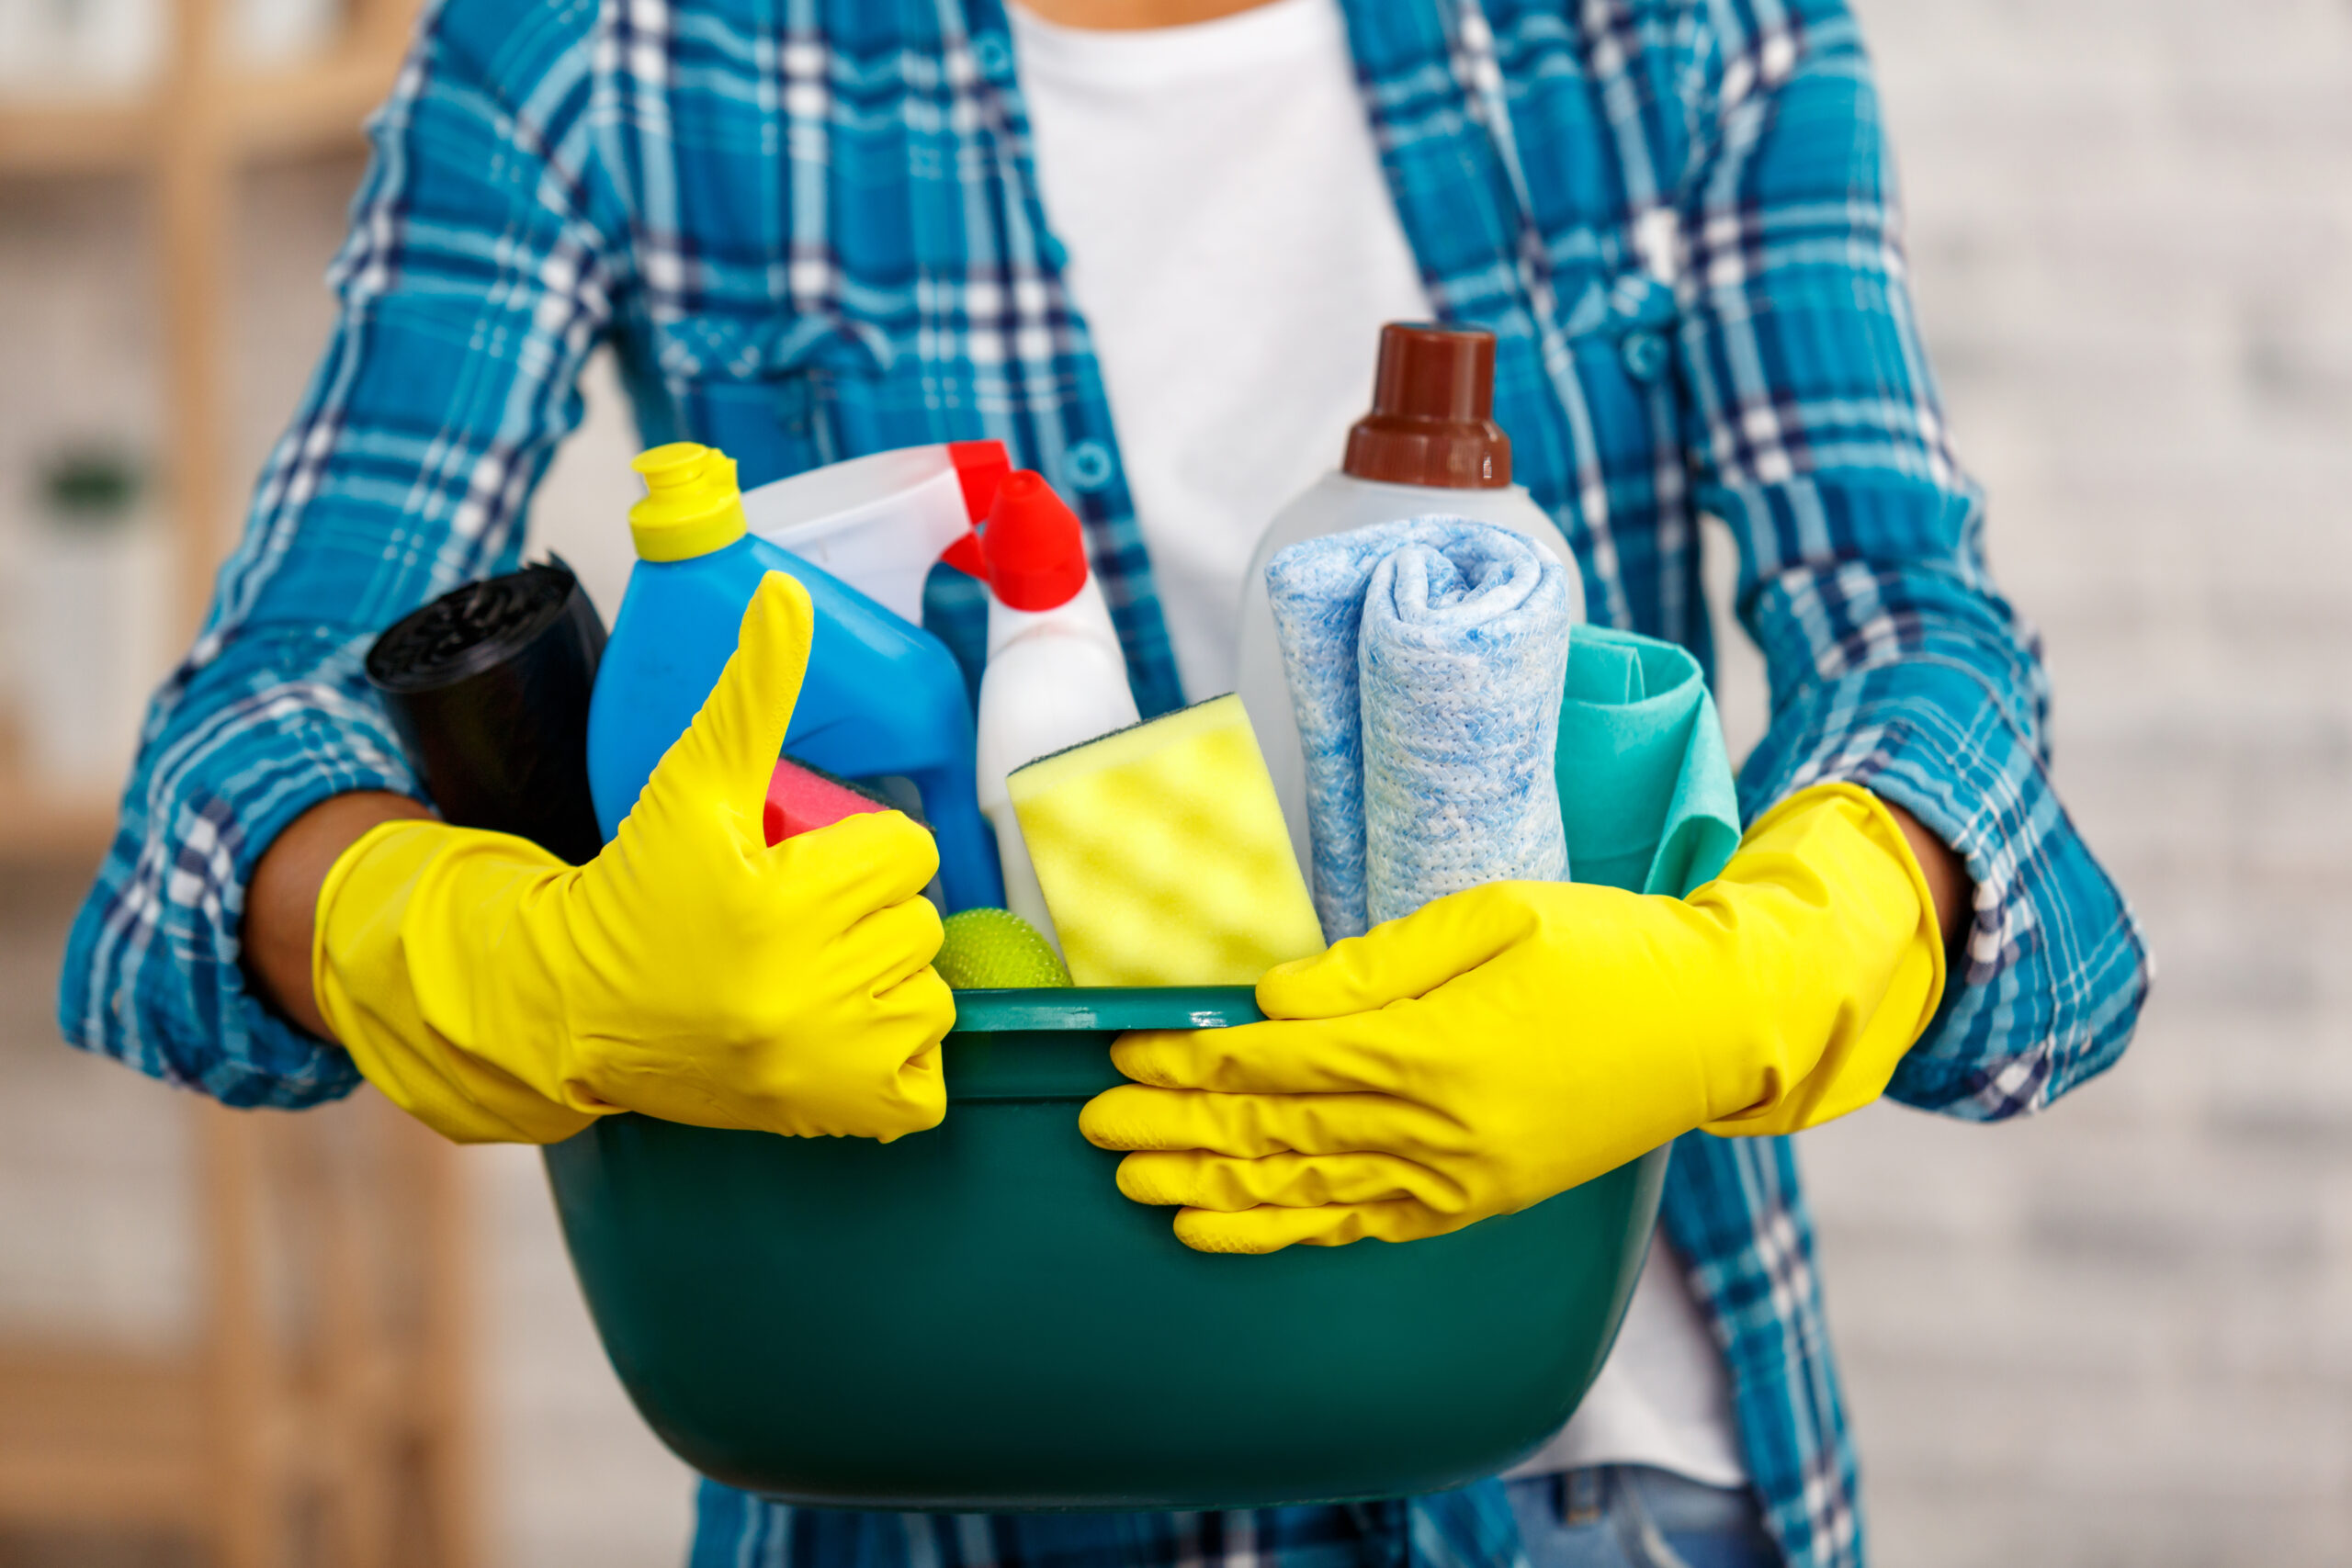
Choose a few core cleaning supplies
When it comes to cleaning supplies, less is more. Vanesa Amaro, a housekeeper in Texas and the self-proclaimed “Queen of Clean” to her 5.9 million TikTok followers, recommends “stocking up a few core products that can be used on multiple surfaces and for different cleaning techniques throughout your home”.
You’ll want one disinfectant on hand, especially “when there is a known contagion in the house, like someone has a stomach flu”, said author of the blog Going Green With Lisa Bronner and the forthcoming book Soap & Soul Lisa Bronner.
And the cleaning experts we interviewed all praised one powerful, reusable item: microfibre cloths. These inexpensive little squares can be used to achieve everything from streak-free mirrors to dustless shelves. To simplify and speed things up even more, Amaro colour-codes her supplies, including the “microfibre cloths and sponges – so all my green supplies are for the kitchen, blue for the bathroom and so on”.
Work top to bottom, left to right
Owner of Cleaner Living NW and Nurturals Natural Products in Oregon Elizabeth Buchanan has been cleaning homes professionally for nearly two decades. She said the easiest way to tackle any room is to clean from top to bottom, working in sections left to right. “If you walk into a room and follow that order, starting from the left and going in a circle, you won’t miss anything.”
Amaro echoed this, especially when it comes to the top-to-bottom part. “This way, you can make sure any dust lingering on high surfaces will make its way to the floor (by the time) you do a final vacuum.”
Declutter, then dust
Before you can really clean, you must declutter. Do this in every room – dishes out of the sink, toys off the ground, that mountain of clean laundry folded. You can’t attack dirt and grime properly if it’s concealed beneath a messy pile.
And if you have to keep interrupting your dusting or vacuuming to put things away, you’ll only waste time. Once you’ve decluttered, Buchanan prescribes a three-step process to eliminate dust: Go over surfaces with a dry duster, then hit them a second time with a damp microfibre cloth. Finally, buff them with a dry microfibre cloth. As Buchanan noted, don’t waste time worrying about pushing crumbs and other debris onto the ground as you go – you’ll vacuum those up later.
Tackle the kitchen
In Buchanan’s experience, the kitchen is the messiest part of most people’s homes. For that reason, she suggests getting it out of the way early.
She begins by wiping down the fronts of cabinets with a microfibre cloth and the appropriate spray cleaner, following the top-to-bottom method.
If you’ve got stainless steel appliances, Bronner suggests microwaving a damp microfibre cloth for a few seconds, then using it to wipe them down. The hot cloth will help loosen grease, without leaving any streaks behind.
For especially tough messes on a stovetop, Buchanan suggested scrubbing and Amaro uses a dual-sided scraper “to lift the crust up before spraying and wiping down the surface with a degreaser”.
Finally, zero in on your sink, an area particularly prone to grime and germs. Buchanan uses a small scrubbing brush to get inside and around the drain.
Then tackle the bathrooms
Next, move on to the bathrooms. If you have more than one, Buchanan advised starting with the primary because it is often the largest and therefore feels the most daunting.
First, spray every hard, non-glass surface – countertop, toilet, tub, sink – with an all-purpose bathroom cleaner suited to eradicating mold, mildew and germs. Let the cleaner sit for at least a few minutes to work correctly. Empty the trash as you wait. When the time comes, wipe the cleaner off those hard surfaces with a wet microfibre cloth, then dry with a fresh cloth so that everything is shiny and streak-free.
Save mirrors and glass shower doors for last, spraying those with any mirror-cleaning product or white vinegar diluted with water. Amaro suggested “turning off any lights directly above the mirror, because the heat of the lightbulb can evaporate your cleaning solution and cause streaks”.
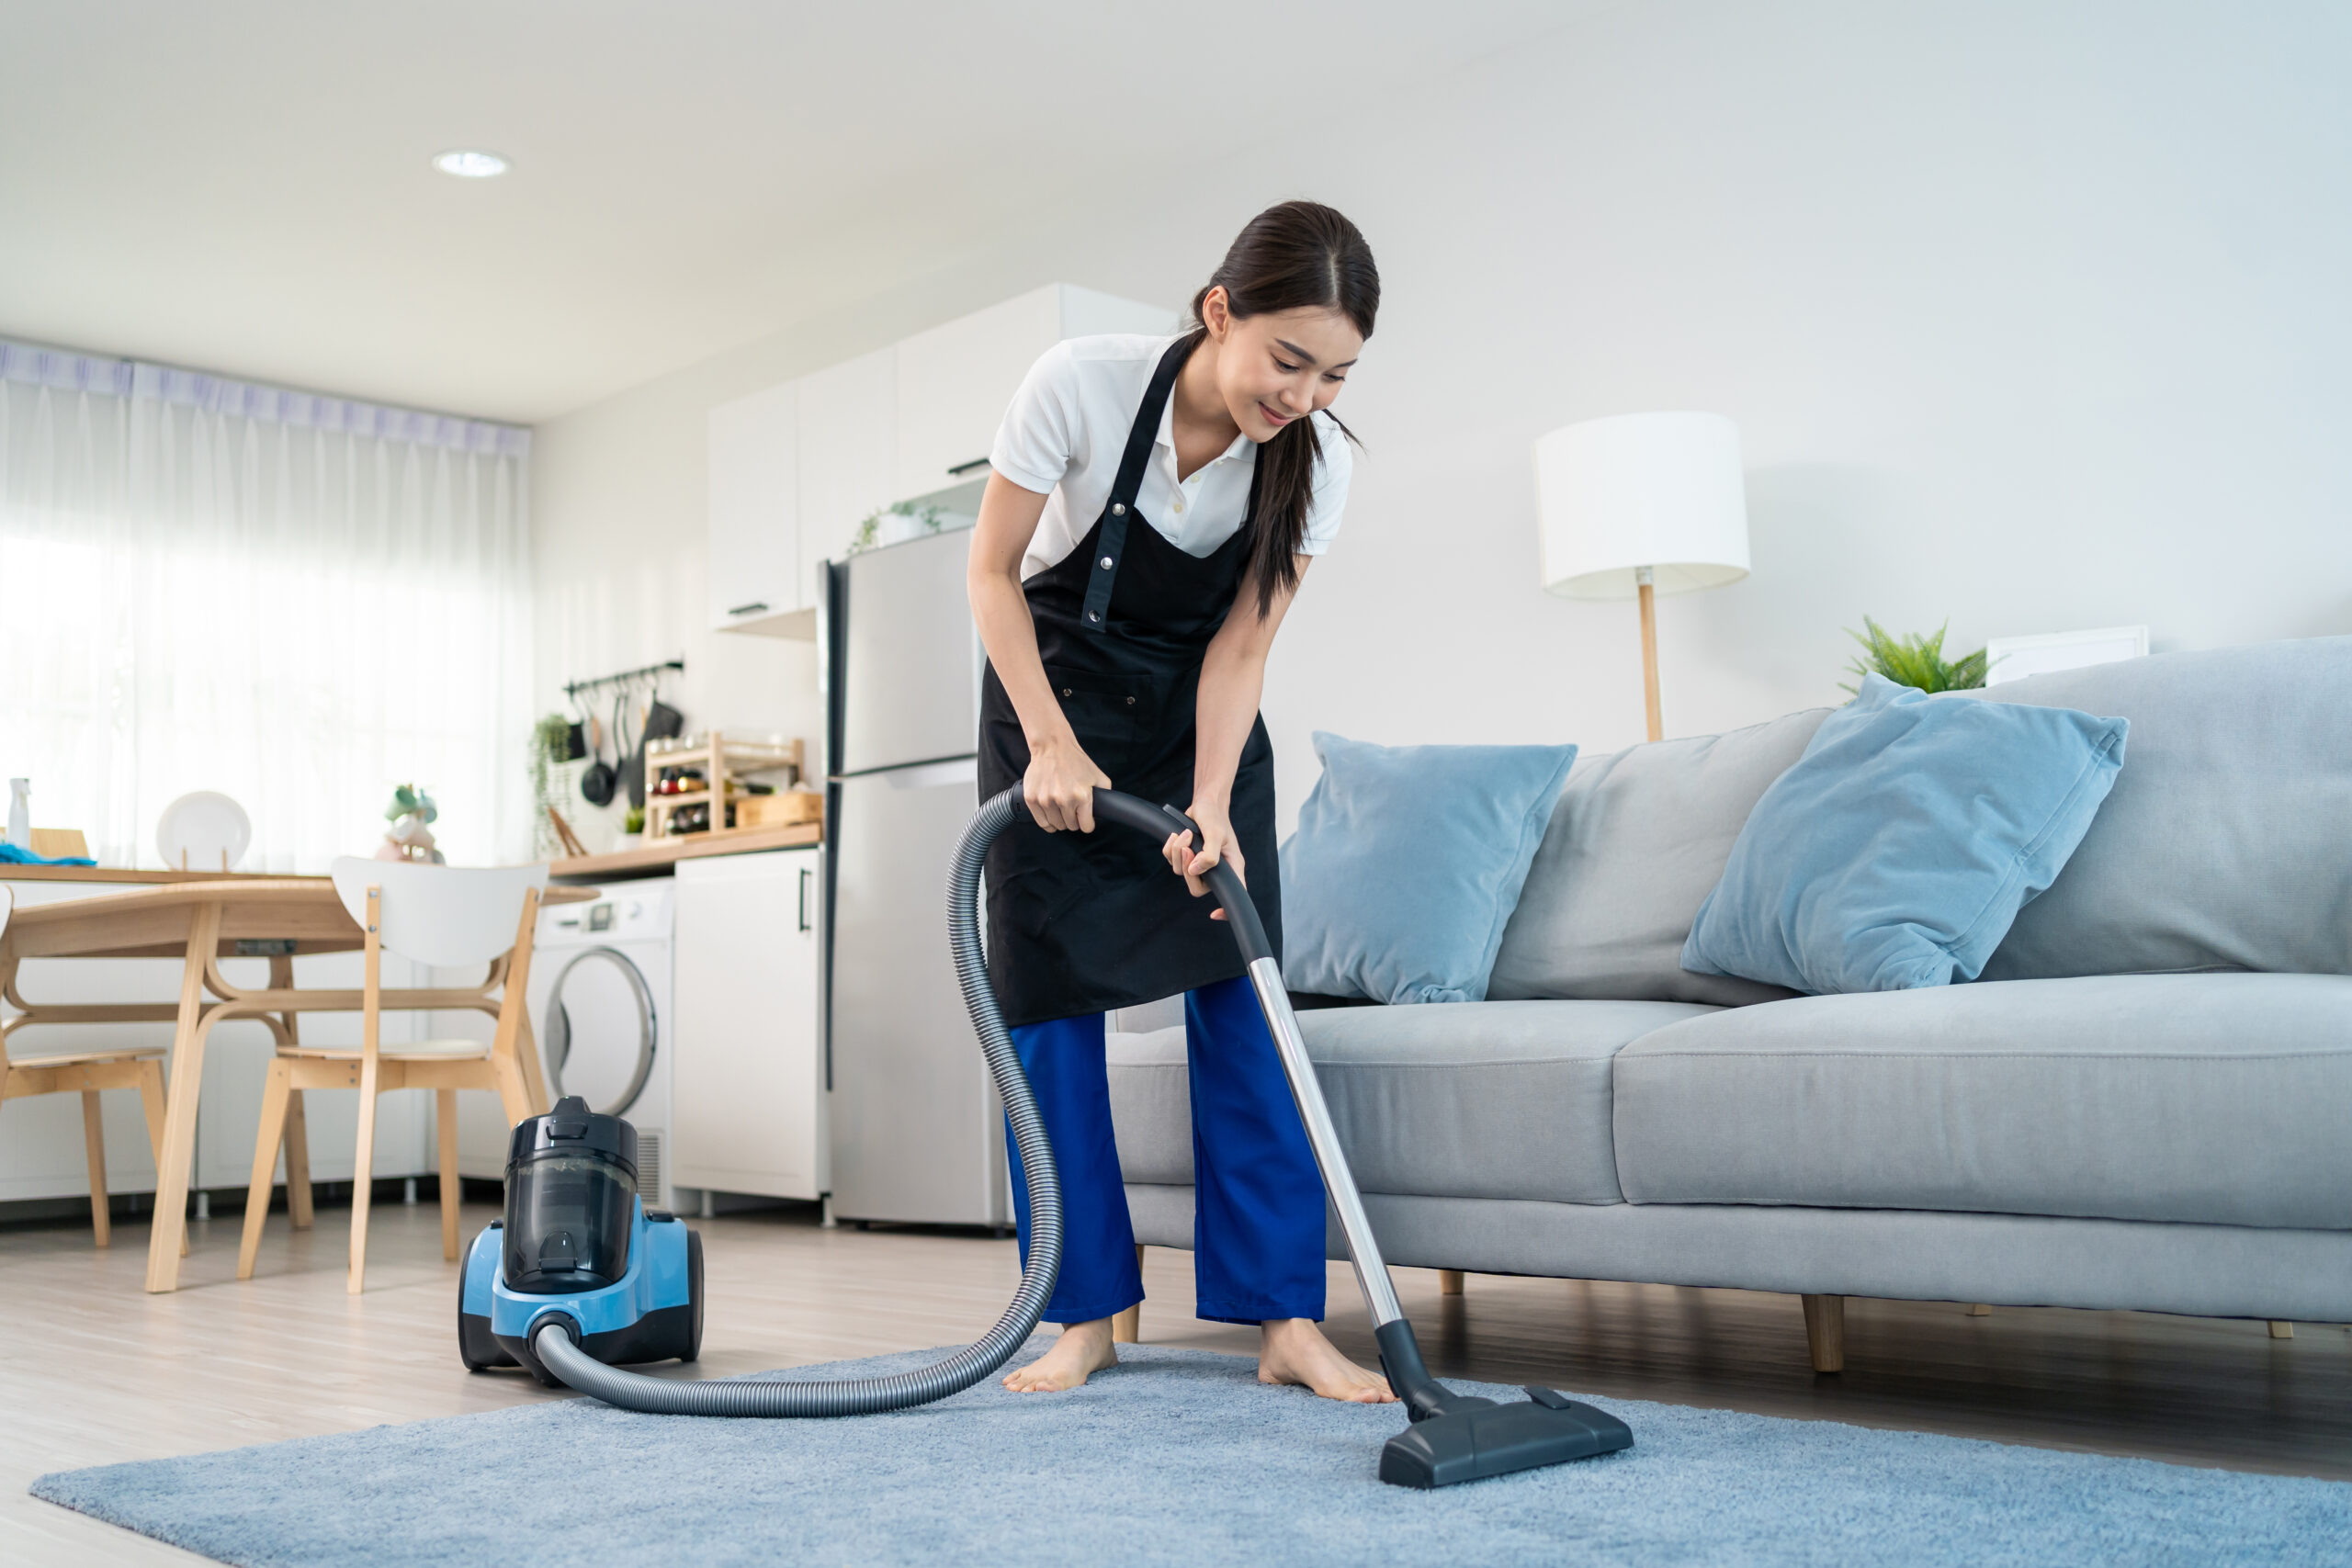
Save floors for last
Start by vacuuming. Bronner and Buchanan say an adjustable vacuum is key – that way it’ll work just as well in your carpeted bedroom as your hardwood hallway. Buchanan prefers to vacuum her “way out of the house”, working from the deepest part of the interior toward the front door. That way “you don’t leave footprints on the carpet or walk over the vacuumed areas”.
Once the floors are sufficiently vacuumed, it’s time to mop. Bronner noted your flooring type will dictate what sort of mop you’ll need. If you have tile, you’ll need a string mop that can get into those hard-to-reach grout lines, not just push dirt deeper into them. For hardwood, you’ll need a flat-head mop. Save the bathroom floors for last because they’re almost certainly the germiest, said Buchanan, and you don’t want to track that grossness around the rest of your house. – Hannah Holland


